Earlier this month I showed you how to make simple, yet festive dog bone cookies, three ways. Today I am going to show you three different ways to decorate a dog house. Hopefully none of you end up in the dog house this holiday season, but just in case, you can rest assured that it will be decorated to perfection.
Dog House Cookie Tutorial
You will need:
- Dog house cookies – I used the Printiscle dog house cookie cutter, but you could also use a regular house with some modifications.
- Red outline and flood icing
- Green icing
- White flood icing
- Black flood icing – optional (you can also use the green)
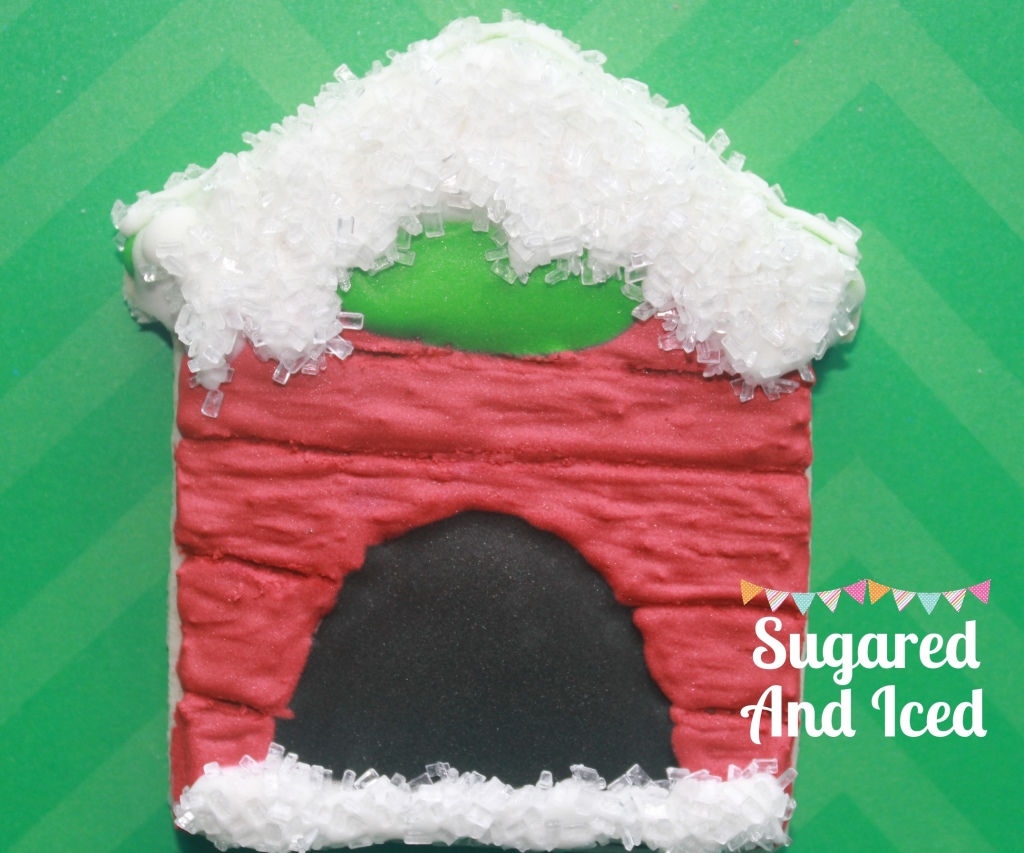
The Winter Chalet
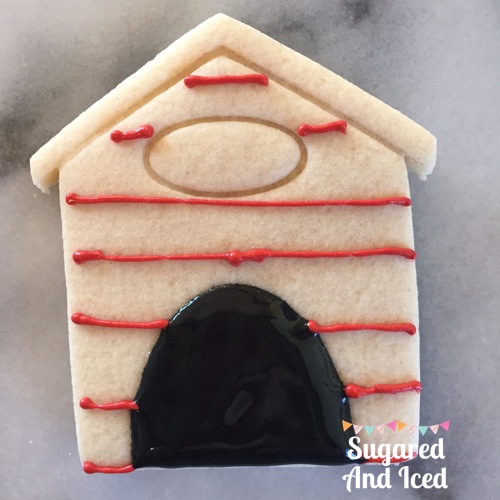
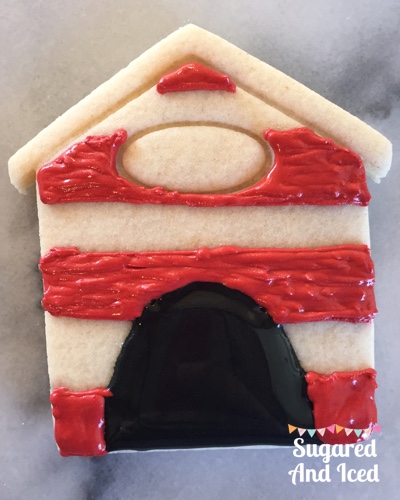
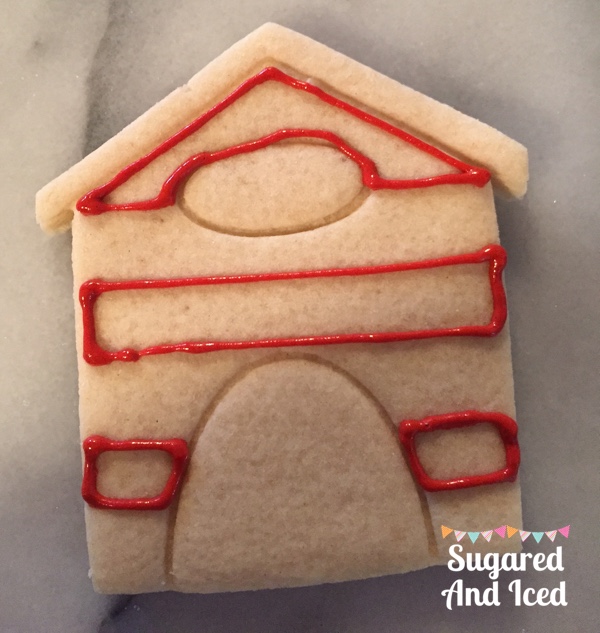
1. Start by drawing lines in red across the house. These will be the outlines to your wood slats.
2. While your lines dry fill in the entrance to your dog house.
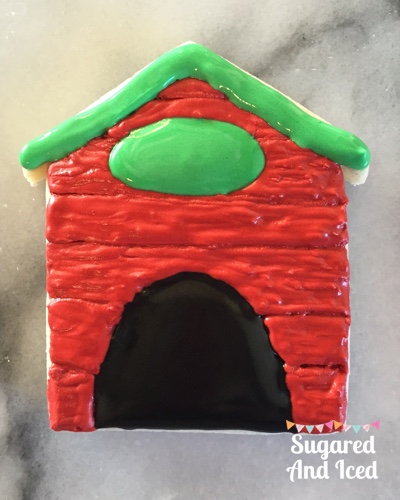
3. Use your outline icing to fill in the “boards” using lines of icing – this will give it a woodgrain look. You can also fill the space and run a toothpick through the icing to achieve this affect. Once these dry you can fill in the other sections.
4. Using the green, fill in the rest of the cookie.
5. If it’s snowing where your dog house is, add some white icing and while it’s still wet, cover it in white sprinkles. It’s possible I got a little carried away with my snow, we’ll just say there was a blizzard, but you can cut back if you want.
The North Pole
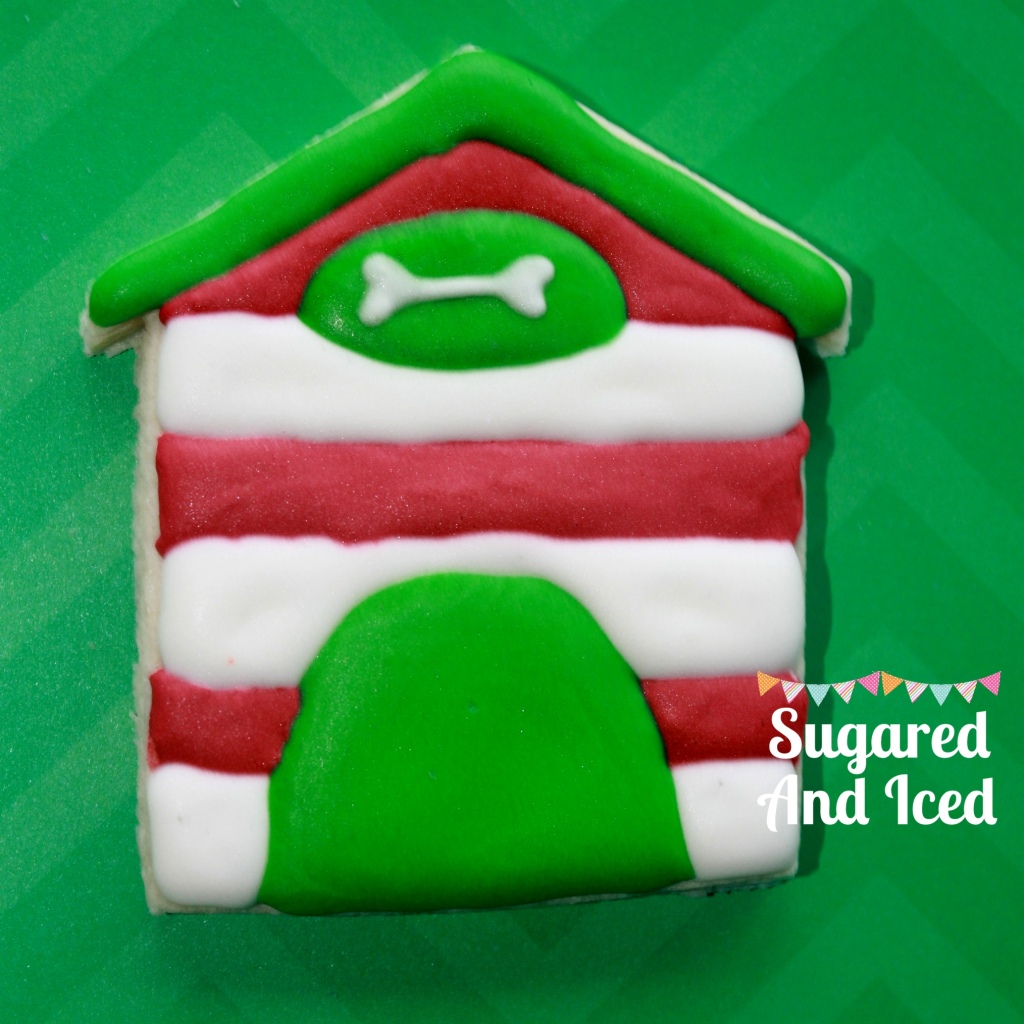
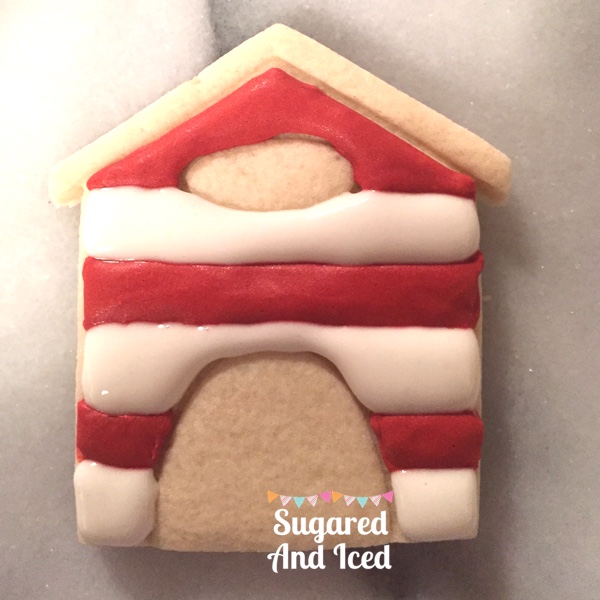
1. This one starts the same way. Outline your red to make the slats, but this time fill in the red with smooth flood icing.
2. In the alternate spaces, fill with white icing.
3. Fill the roof and door with green icing. Add a little dog bone or your favorite dog’s name.
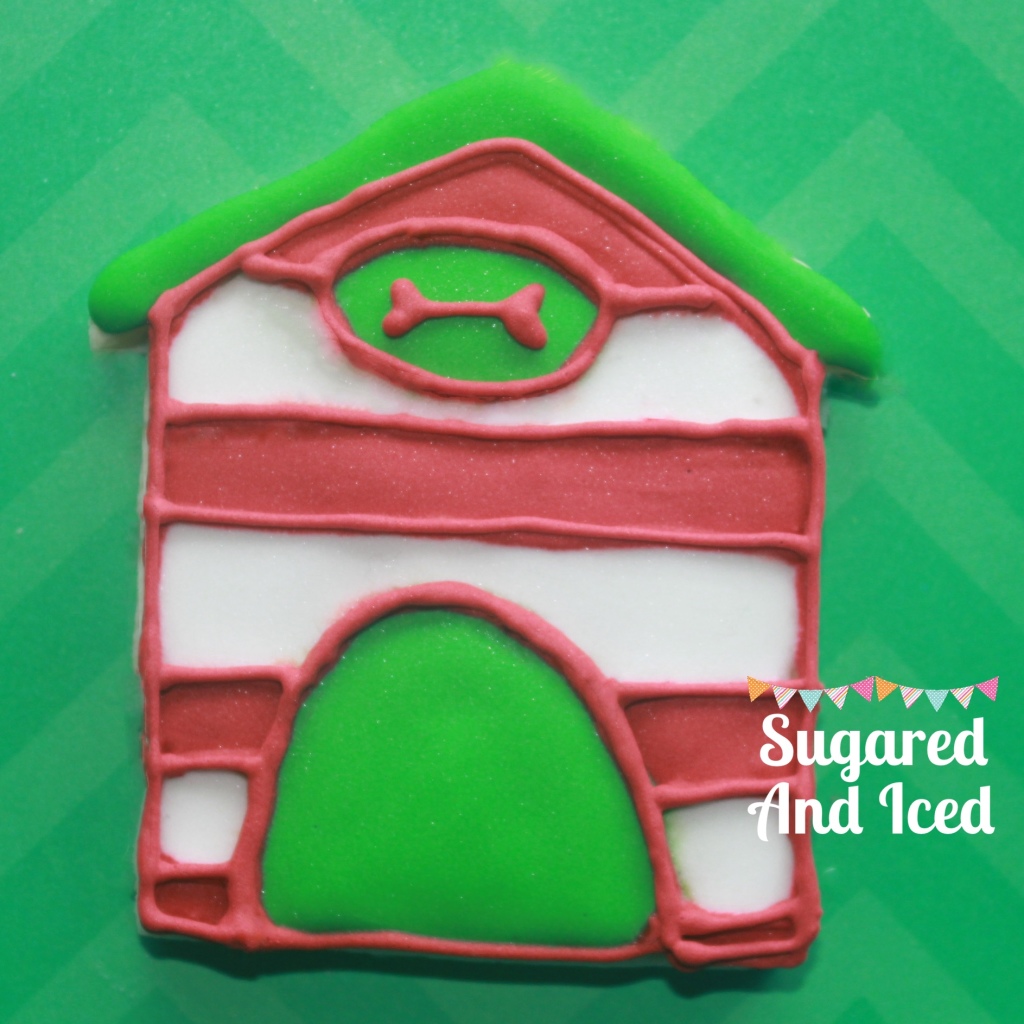
Okay so I kind of lied about 3 different ways to decorate, it’s more like 2.5. For the last one, I took the same house from above and outlined it. It gives an added dimension and a different look. I couldn’t decide which I liked better so I’m counting it as different!
Happy Howl-idays!



Leave a Reply