The holiday season is upon us and a wonderful seasonal tradition for many is making cookies! But before you rush out to the stores to stock up on cookie cutters you will use once a year (although I fully admit to having plenty of those and I will probably still buy more), take a look at what you already have or treat yourself to new cutters that you can find uses for all year round. You can put a holiday touch on anything and if you are giving cookies as a gift, you can personalize your cookies for the recipients while still using all the same dough and icing colors.
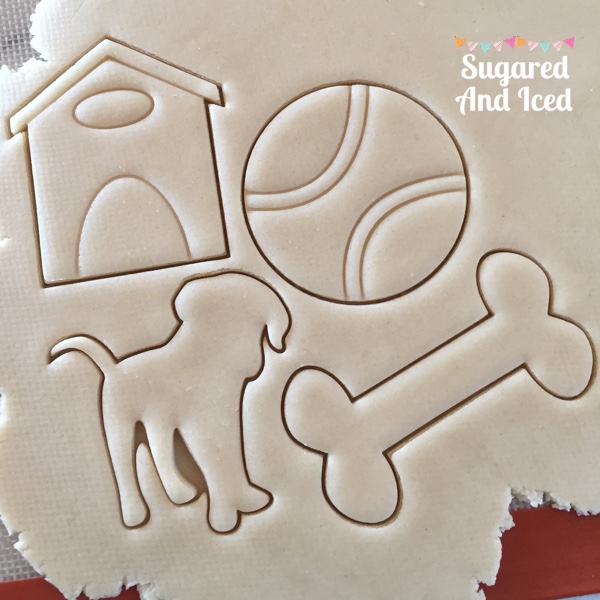
You all know how much I love Printsicle cookie cutters and dogs so I am super excited to show off one of their new dog-themed set that will get use in my house all year round. The cutters or the cookies will make a perfect gift for the dog-lover in your life.
Since it is the season of giving, I’ll be giving you some tips and tricks on how to decorate these cookies with a holiday theme! We’ll be starting with a simple dog bone that I will show you how to decorate 4 different ways and I will show you the rest of the shapes in future tutorials. You can also change out the colors and use these same techniques for any season or color scheme to give it your own unique look. If decorating is not for you, don’t worry: these cookies are adorable without the icing, too.
Dog Bone Cookie Tutorial
1. Make the dough to your favorite sugar cookie recipe. Make sure the recipe is sturdy and does not spread or you will loose out on all the great details of these cutters. If you buy any of the Printsicle cutters you will get the recipe I created specifically for their cutters with your order.
2. Roll out the dough to 1/4 inch thick. It doesn’t have to be exact, but I love a thicker cookie and they are a bit less fragile to work with.
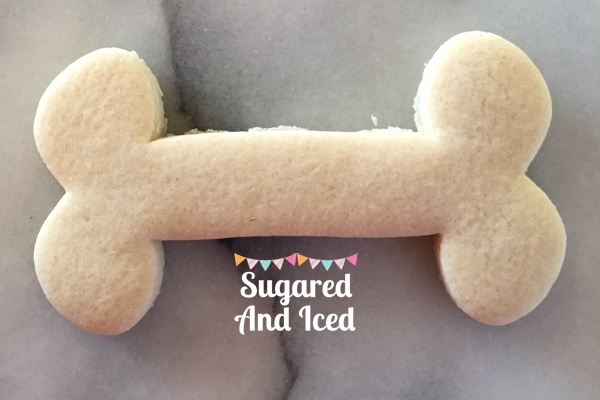
2. Bake your cookie. See isn’t is cute all by itself?
3. Make your royal icing and make your colors. For this tutorial I am using red and white to make bones with a candy cane look, but you can use ANY color you want!
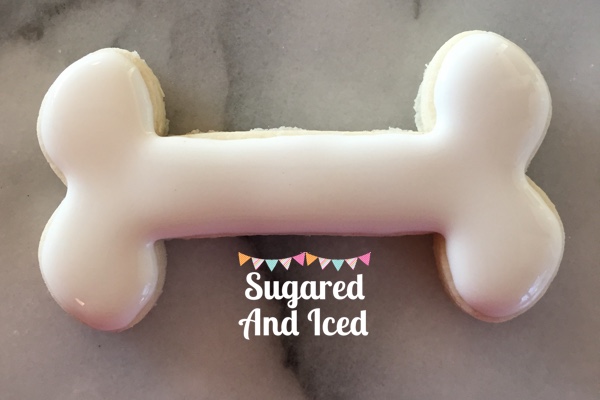
4. For a base or even just a simple design take a solid color icing and fill in your cookie.
*An important icing tip is to keep it flowing enough to get a smooth and even look, but thick enough that it does not run off the edges of your cookie. This will take a bit of practice, but err on the side of thick and you can always make it thinner by adding tiny drops of water at a time (a little bit goes a long way.)
*You can also outline your cookie with a thicker icing, let it dry and fill it in with a thinner “flood” icing. This will help your icing stay where it belongs.
Now some easy holiday twists!
Thick Outline
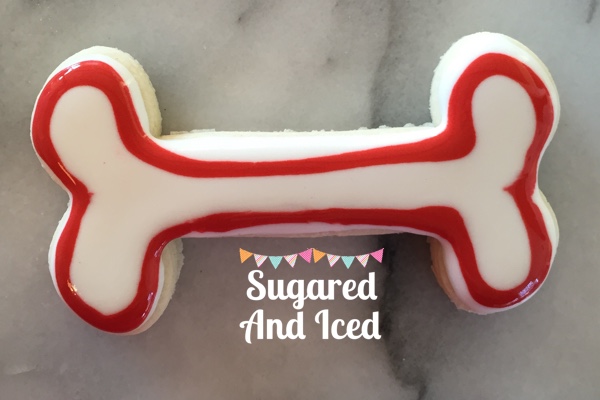
While the base icing (in this case the white icing) is still wet use a second color, the red, and create an outline. This “wet on wet” technique will give you a design with a smooth finish. You can make the line thick or thin depending on the size tip you use, I used a 1.5 for this one.
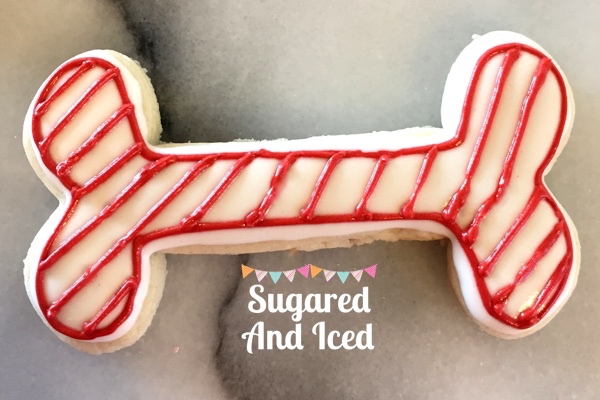
Candy Cane Stripe
After the base is dry, outline your cookie with your desired color. Pipe line connecting one side of the bone to the other to create stripes.

The Festive Bone
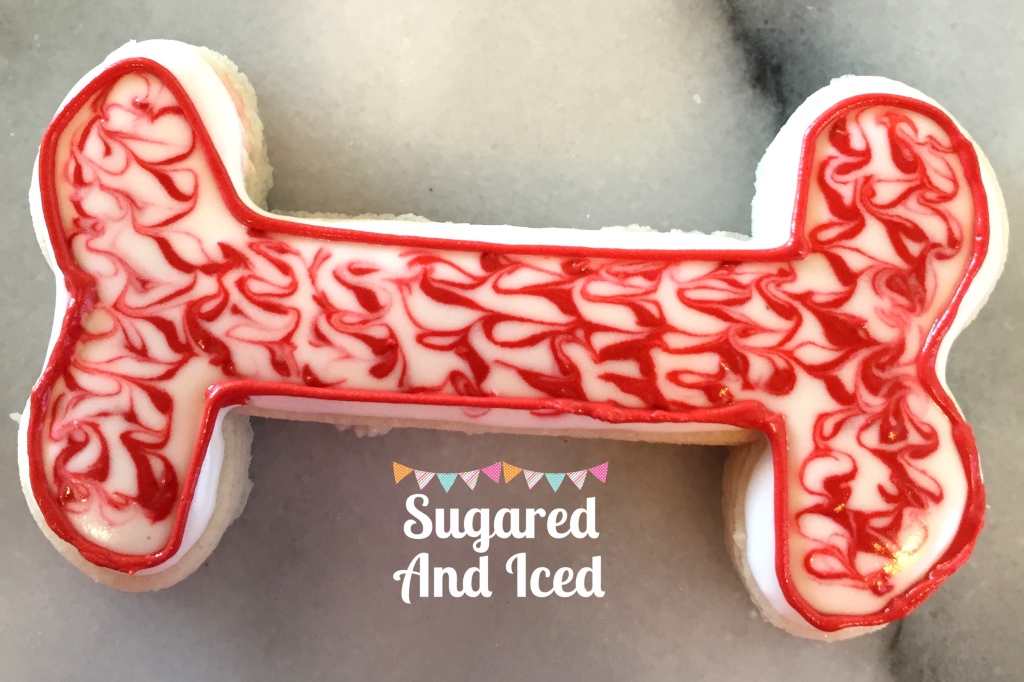
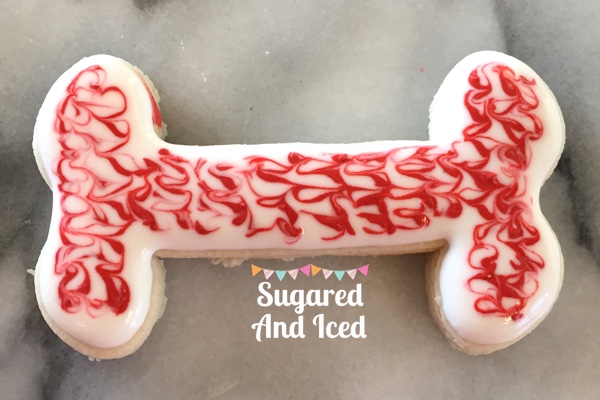
To achieve this marbled look, pipe red lines across your cookie while the base is still wet. Immediately take a toothpick and start start swirling it between the lines pulling the red into the white. Stop and wipe off your toothpick from time to time to keep your look clean. There is no right or wrong way to do this one so have fun. You can swirl more or less or even add in more colors.
To finish the look outline the cookie with the red icing.
Stay tuned for more tutorials on the dog house, tennis balls and dogs!
The cookies cutters can be purchased individually or in a set. Printsicle cookie cutters here>>
More Prinsticle Cookies



Leave a Reply